Applies To: ThreatSync
You can schedule ThreatSync reports to run for different incident types. Each scheduled report can contain multiple reports. WatchGuard Cloud sends scheduled reports as a zipped .PDF email attachment to recipients you specify. Recently generated reports are also available for download in WatchGuard Cloud.
If the generated report is larger than 10 MB, it is not emailed. WatchGuard Cloud stores scheduled report files for a limited time. You can download reports larger than 10 MB while they are available.
Manage Scheduled Reports
To view and manage ThreatSync scheduled reports in WatchGuard Cloud:
- Log in to WatchGuard Cloud.
- Select Administration > Scheduled Reports.
The list of scheduled reports opens.

From the Scheduled Reports page, you can add, edit, or delete scheduled reports. You can also download recently generated reports.
Add a Scheduled Report
You can schedule reports to run daily, weekly, monthly, or immediately. For daily, weekly and monthly reports, the report frequency also determines the date range for data included in the report. For example a weekly report includes data from the most recent 7 day period from Sun 01:00 (Europe/Berlin) until the following Sun 00:59 (Europe/Berlin).
To add a scheduled report:
- Click Add Scheduled Report.
The Create Schedule wizard opens with the Report Description step selected.
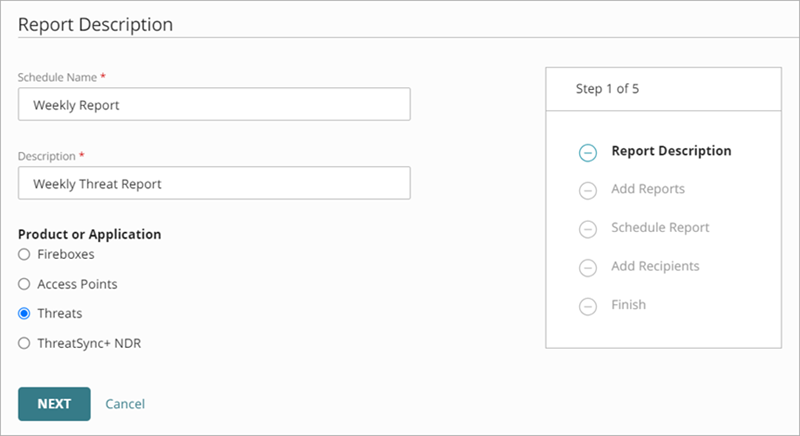
- In the Schedule Name text box, type a name for the report.
- In the Description text box, type a description for the report.
- In the Product or Application section, select Threats.
- Click Next.
The Add Reports page opens.
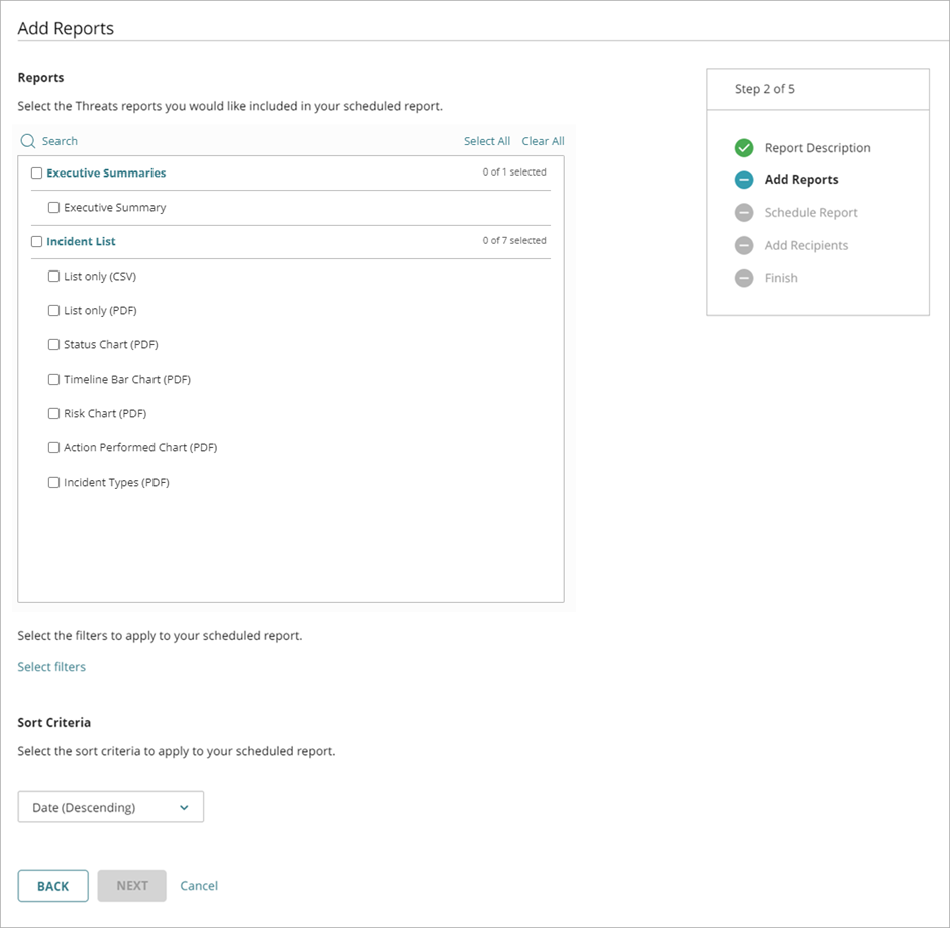
- In the Reports section, select the check box for each report to include in your scheduled report.
- To include all available reports, click Select All .
- In the Filters section, click Select filters and select the filters to apply to your scheduled report.
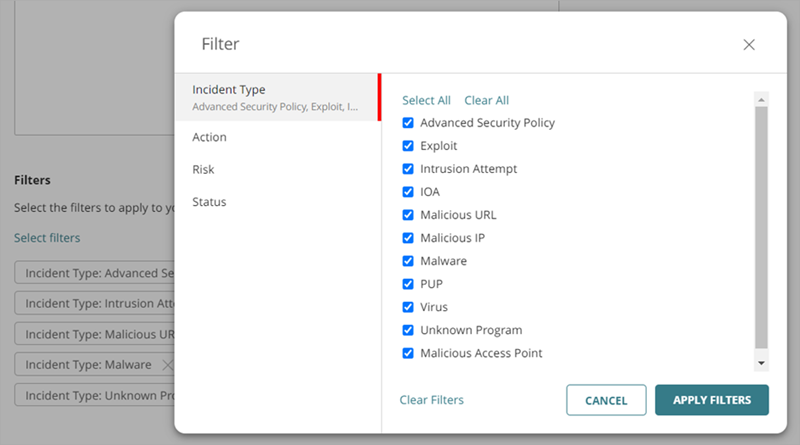
The Filters section is not available if only the Executive Summary report is selected.
- In the Sort Criteria section, select whether to sort the report by date or risk level, in ascending or descending order.
- Click Next.
The Schedule Report page opens.
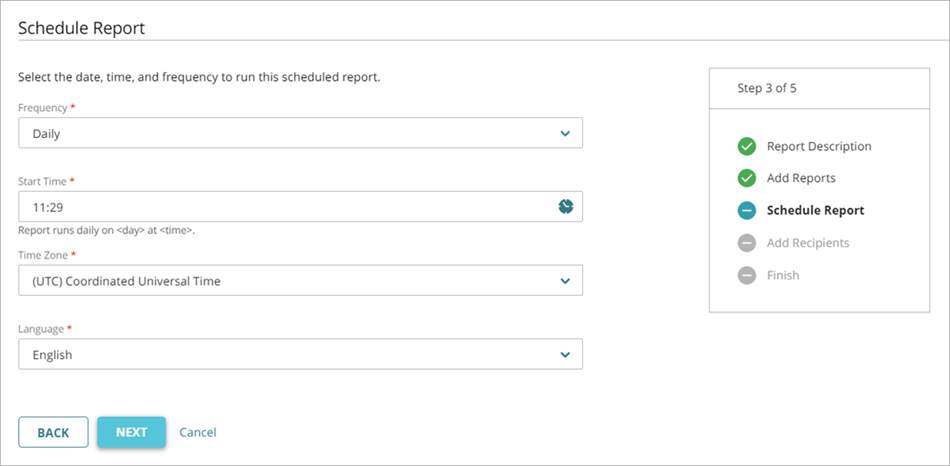
- From the Frequency drop-down list, select how often to run the report. Select one of these options:
- Daily — Runs daily and contains data for the past 24 hours (includes 00:00 until 23:59, adjusted to the timezone)
- Weekly — Runs weekly and contains data for the past week (includes Sunday 0:00 to Saturday 23:59)
- Monthly — Runs monthly and contains data for the past month (includes the first day 0:00 to the last day 23:59)
- Run Now — Queues the report to run for the date range you specify
The time required to generate and send the report is dependent on the type of selected reports, and position of the request in the processing queue.
- To select the time the report starts to run, in the Start Time text box, click
 .
.
Or, in the Start Time text box, type the hour and minute of the day to start the report in 24-hour format HH:MM.
- For a Weekly report, specify the day of the week to run the report.
- For a Monthly report, specify the day of the month to run the report.
- Specify the Time Zone for the scheduled report.
- Select the Language for the report.
- Click Next.
The Add Recipients step opens.
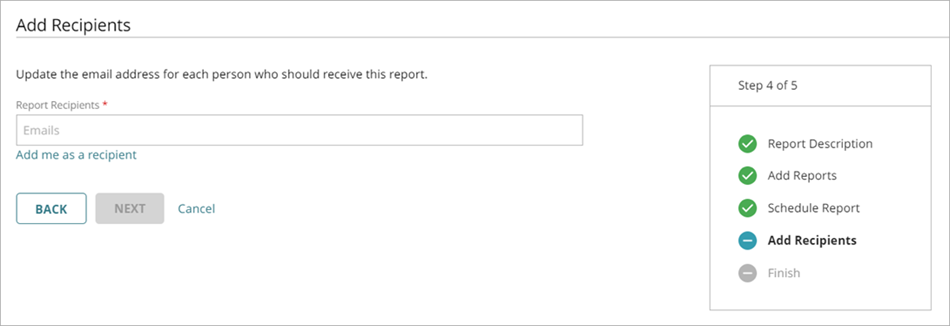
- In the Report Recipients text box, type the email address for each report recipient. To separate multiple addresses, use a space, comma, or semicolon. Press Enter to add the specified addresses to the recipient list.
Reports must be smaller than 10 MB to be emailed. - To add yourself as a recipient, click Add me as a recipient.
The email address associated with your WatchGuard Cloud account shows in the list. - Click Next.
The Finish page opens, with a summary of the scheduled report settings. - Click Save Report.
The report is added to the list of scheduled reports.
Edit or Delete a Scheduled Report
You can edit and delete scheduled reports.
To edit a scheduled report:
- In the list of scheduled reports, click the report name.
A summary of the report settings opens.
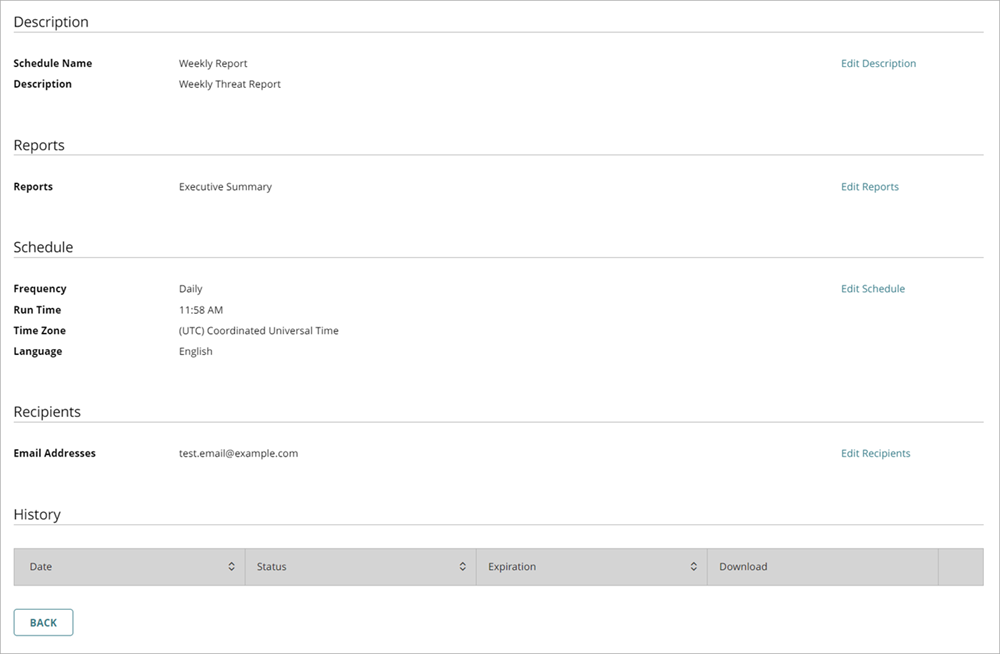
- To edit the report description, click Edit Description.
- To edit the reports to run:
- Click Edit Reports.
- Select the devices you want to include in the reports.
- Select the check box for each report to include.
- To edit the report schedule:
- Click Edit Schedule.
- From the Frequency drop-down list, select Monthly, Weekly, or Daily.
- Specify the day and time to start the report.
- To edit the report recipients, click Edit Recipients.
- To save your changes, click Update.
To delete a scheduled report:
- Beside the name of the report you want to delete, click .
- Select Delete.
- In the Remove Scheduled Report dialog box, click Remove.
The report is removed.
Download a Generated Scheduled Report File
WatchGuard Cloud stores scheduled report files for a limited time, which varies based on the report frequency.
To download a generated report:
- Select Administration > Scheduled Reports.
- Click the report name.
- In the History section, click the .PDF or .ZIP icon.
For more information, go to Download Scheduled Reports.